Organize Visual Information in Folders
Use folders to store your ScreenClip clips according to your projects, clients, tasks and organize your images however you need them!

Here's what you can do with ScreenClip!
More ScreenClip Tools and Features
Organize clips however you want and need it. Use folders!
Online Collaboration Tools
ScreenClip is your free screenshot capture, image editing and online feedback tool!
Stay Organized
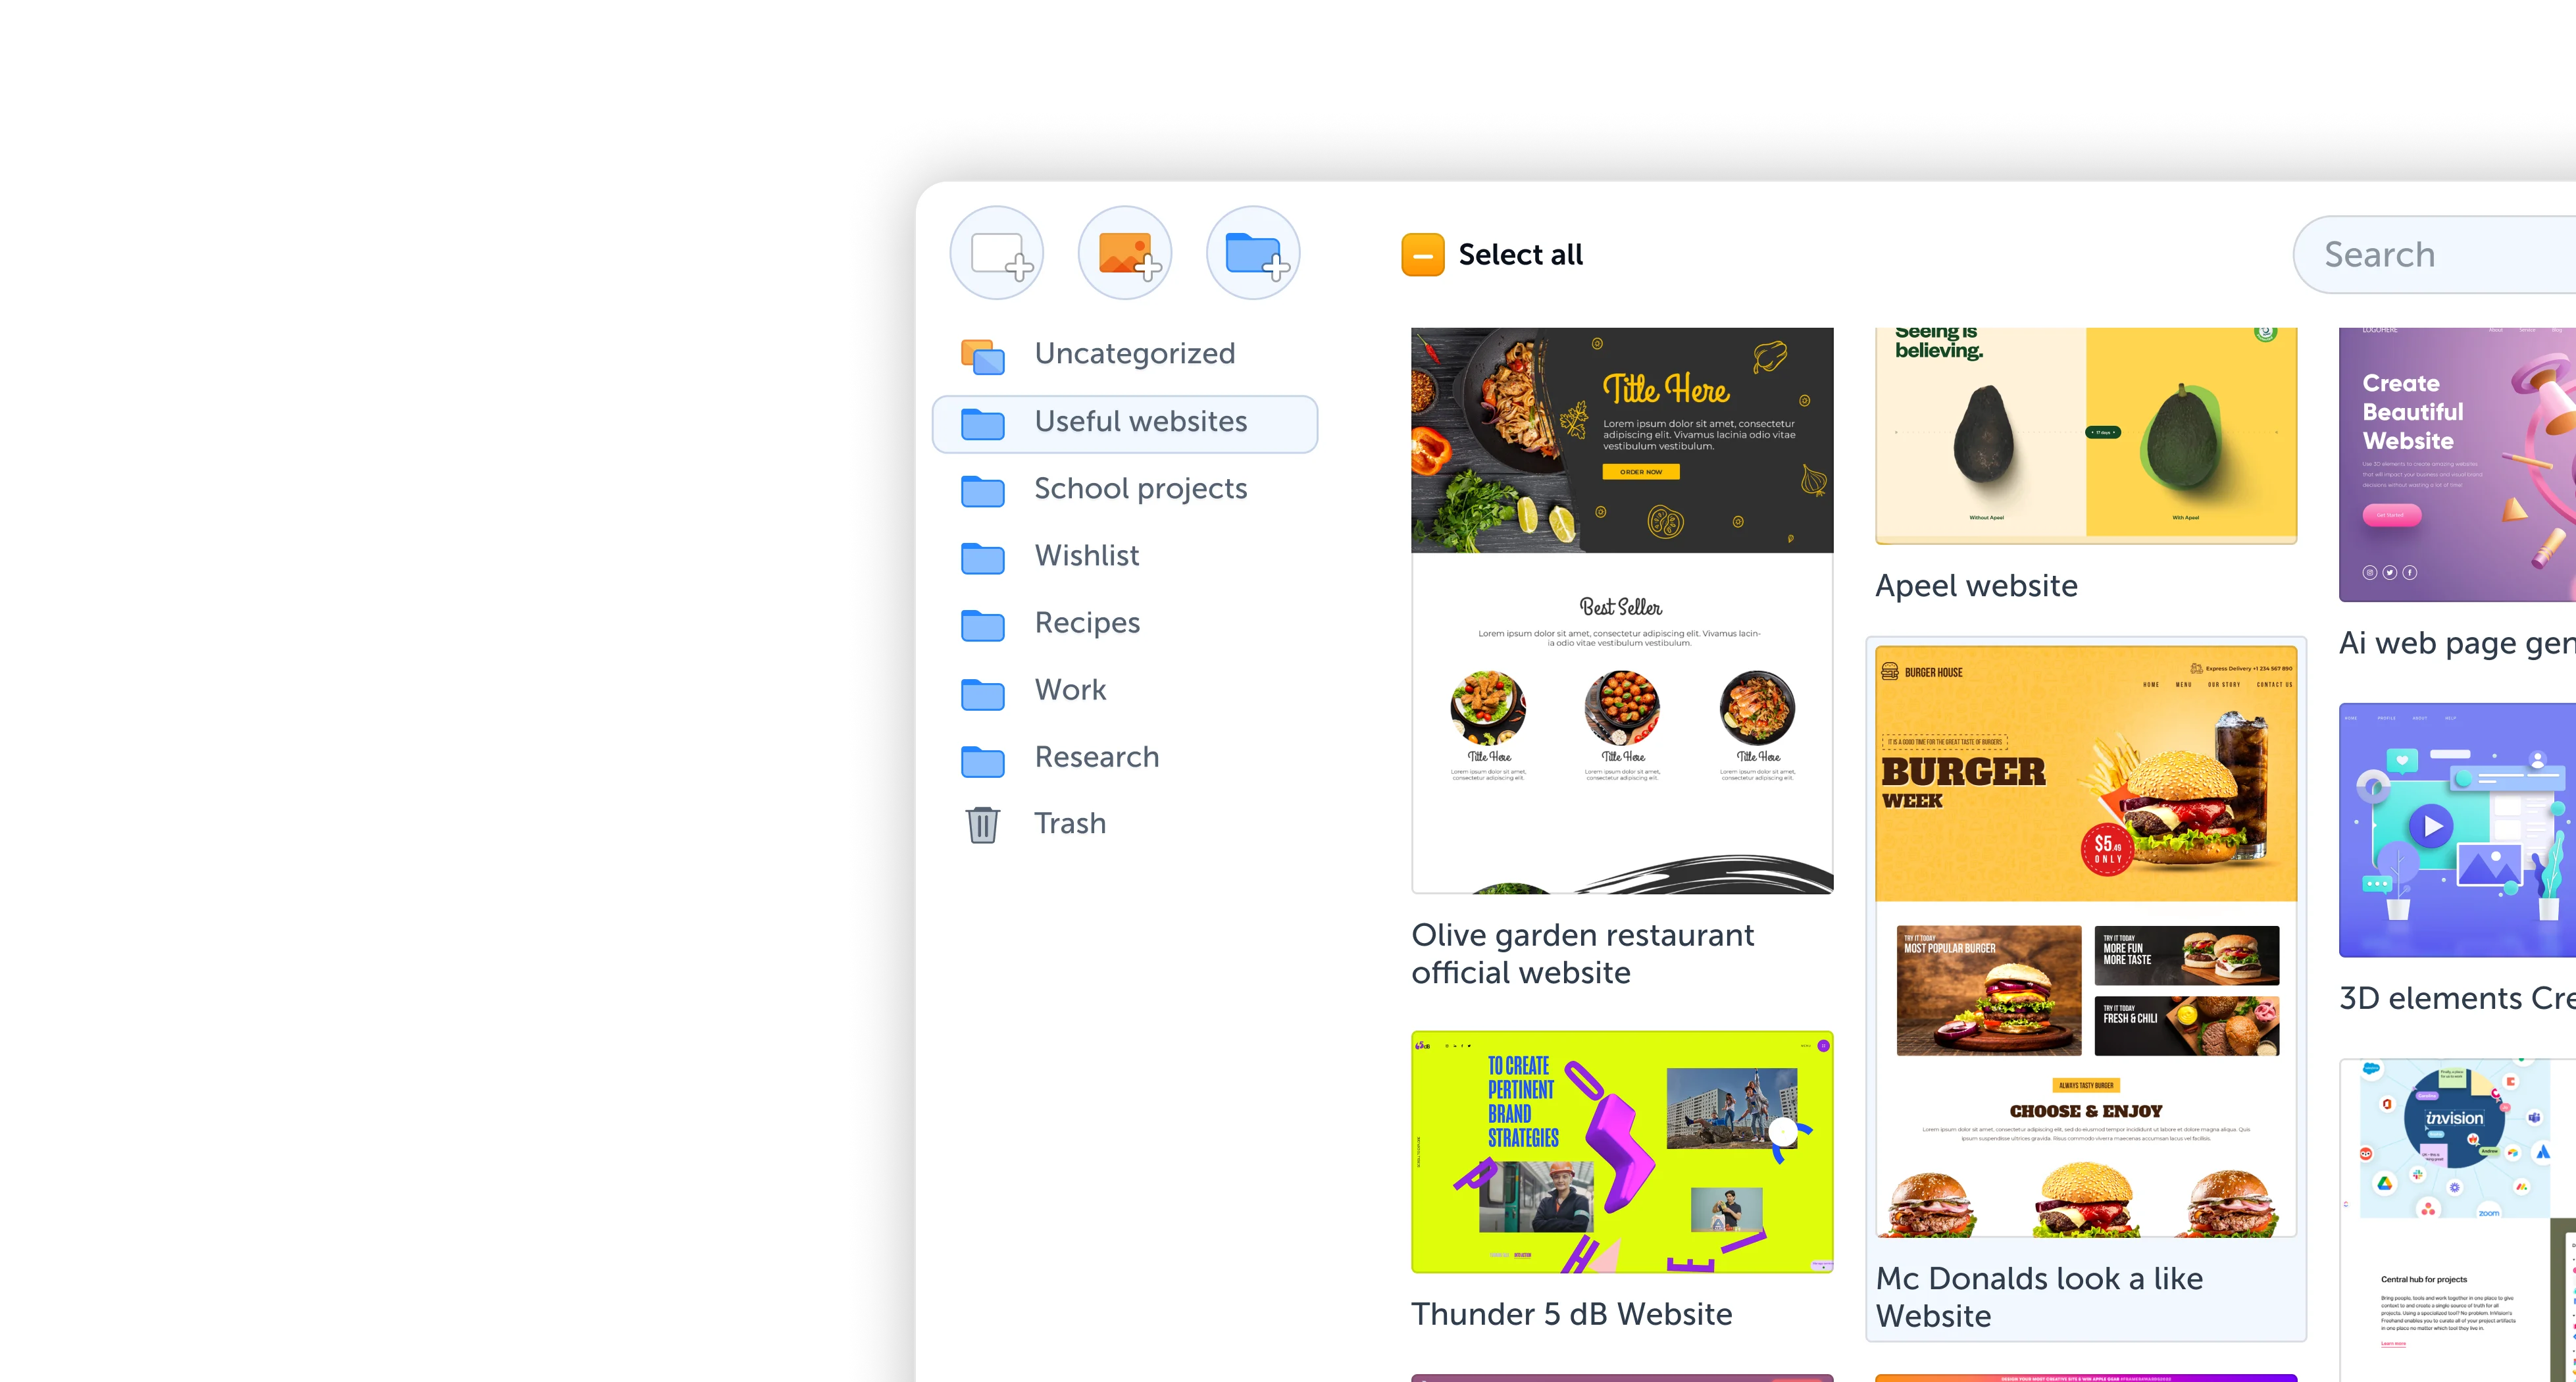
Create mood boards, make relevant folders and keep your dashboard organized. Everybody loves some structure in their visual library!
Team Screenshot Software
Take screenshots using ScreenClip. Then edit and share them with anyone! You can take screenshots of only a section, the visible part, or even the entire page, so anything can be turned into an online screenshot that you can share with everyone!
Online Annotation Tool
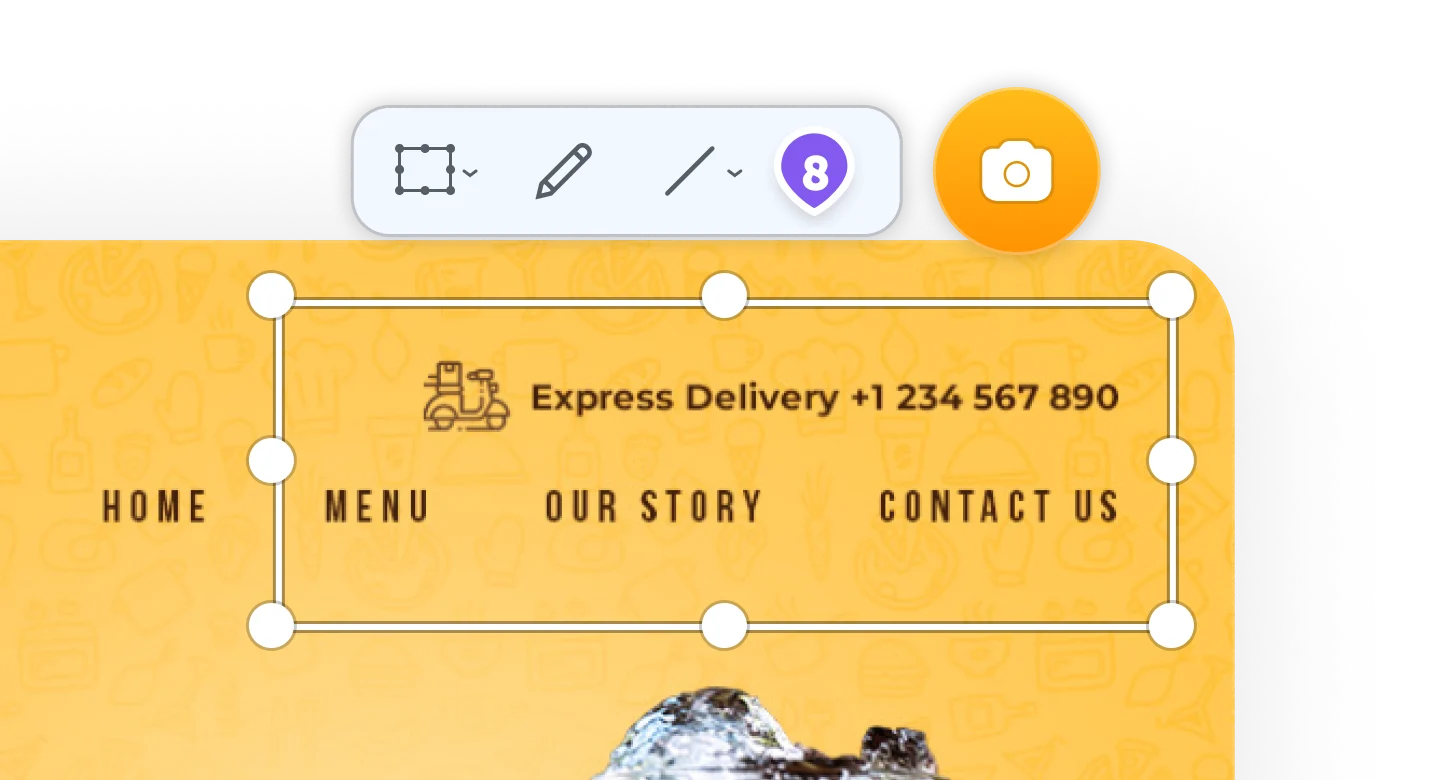
ScreenClip set of annotation tools allows you to annotate websites, images, design work, school assignments, and much much more! Furthermore, you can immediately share your annotation with your team, friends, students or family.
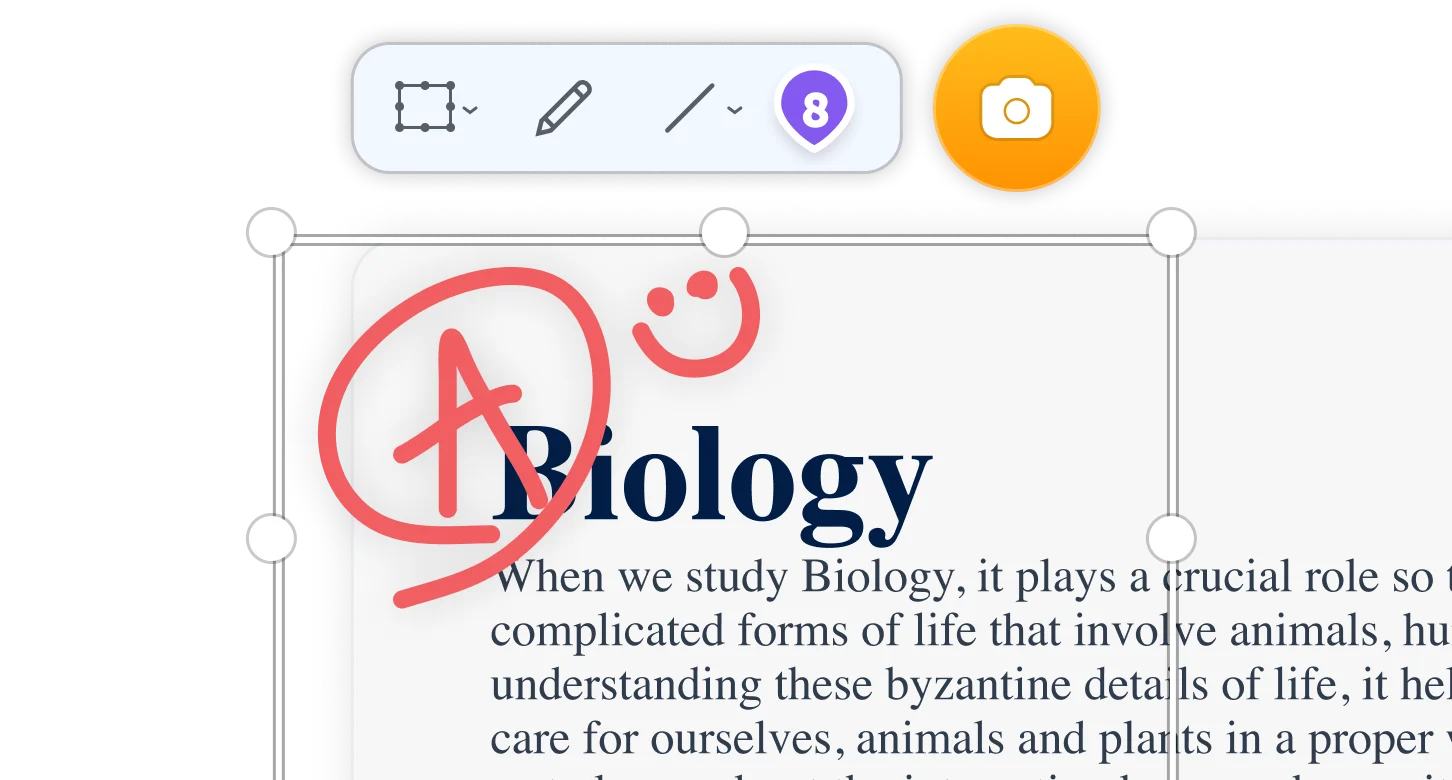
Screen Capture Edit for Screenshots

Screen Capture Online
When being used together with our chrome extension, ScreenClip allows you to take screenshots, web capture pages, and share your screen captures online. No more sending screenshots as files, share a link to your capture and collaborate inside it!
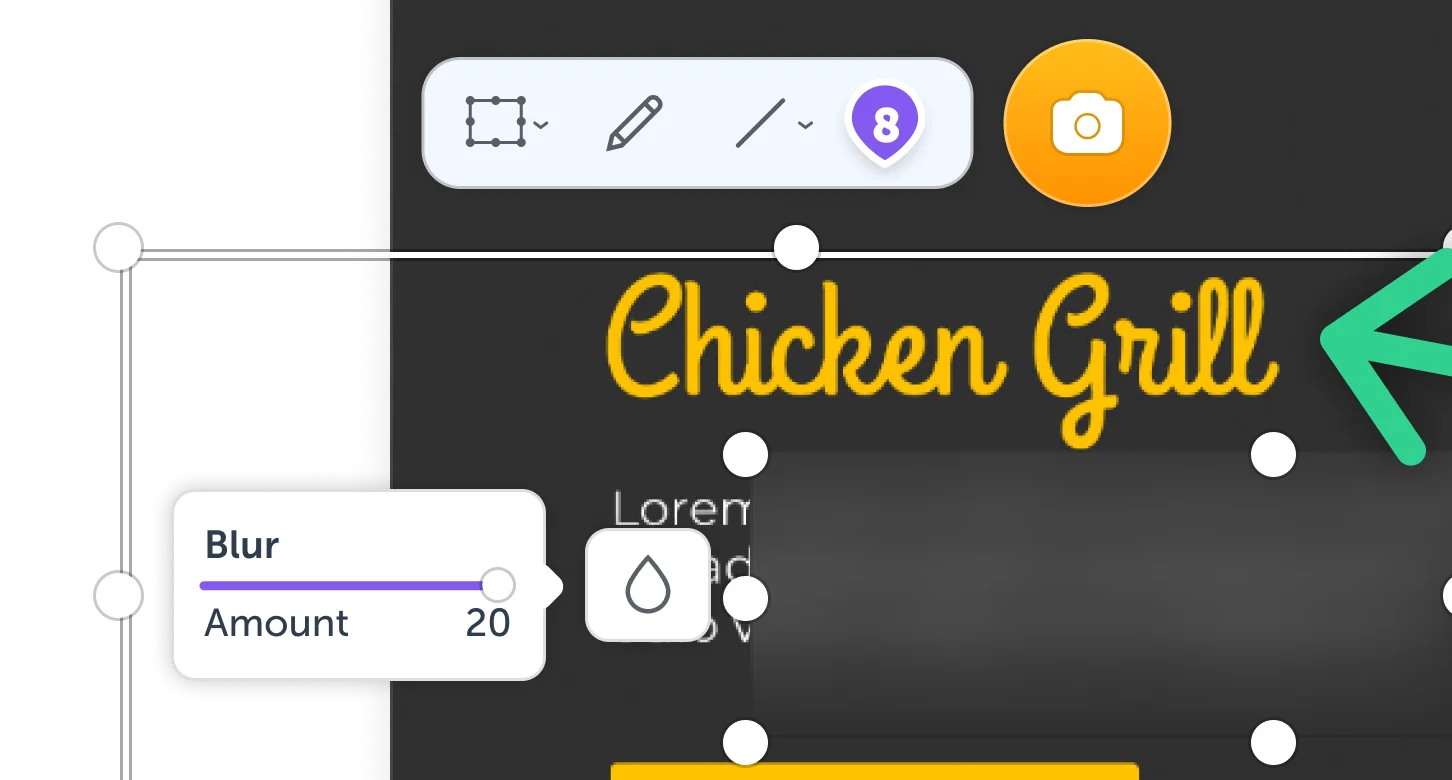
Create Folders
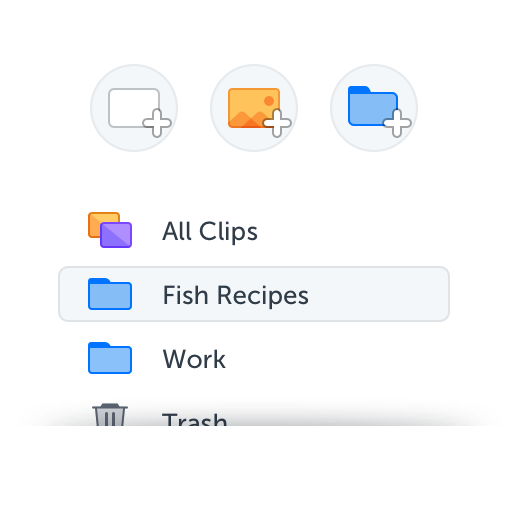
ScreenClip allows you to organize your clips (web captures and annotations) into folders. No magic here, it's as simple as making a folder, giving it a name and moving your clips to that folder.
This feature is as simple as it sounds but there are multiple different ways...
Create Project Folders
Most of us have to work on different projects and tasks. That's why being organized and putting your web captures, screenshots, annotations and other types of ScreenClip clips into different folders can be handy for anyone.
Create Client Folders
Web designers, developers, content teams and other creatives who have to constantly communicate with clients use ScreenClip for feedback and visual collaboration. To have less mess in your dashboard we suggest creating folders for each client and organizing your dashboard to accommodate that.
Create Team Folders
Now if you work in different departments, teams or even have multiple jobs... The easiest way to track your clips and web captures is by assigning different folders for each taskforce you belong to. This will make it easy to work on only one thing (we all know that multitasking is not good thing for productivity!).
How to Create a Folder on ScreenClip
Creating folders are easy. It takes just a few seconds and here are the steps:
- Go to your ScreenClip dashboard
- Press on "Create New Folder" icon on the left upper corner
- Name your folder
After this, you will have a new folder accessible on the left side of your dashboard. You can add different clips one by one or in bulk, by just simply dragging them to the folder of your choice.
To add more than one clip to your folder, first select multiple clips by marking them with a dot and drag any of those clips to your folder. This will move all selected clips.
Try ScreenClip for FREE!
ScreenClip is free to use online tool - give it a spin!
Moodboards as Folders
Another great use that most of our users love is using our foldering system to organize different aspects of their projects. Here's a few ideas of how to use folders withing ScreenClip:
- Create research topic folders
- Create creative project related folders
- Create mood boards for different research
- Create tag related folders
- Create idea related folders
Share Folders
You can also share your folder with others online. To share any ScreenClip folder, go to your folder and press on "Share Folder" icon on the up right corner. When sharing ScreenClip folders, you can select a few different options:
- Create sharable folder link
- Share folder via email
- Share folder via social media like Twitter or Facebook


